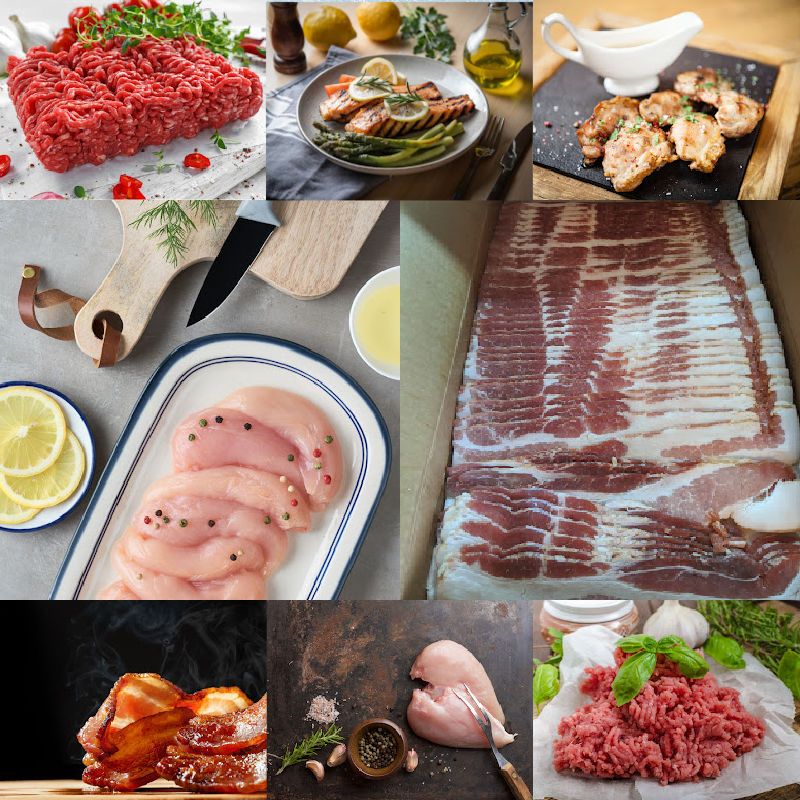
How to Can 40 lbs of Chicken Breast:
With the Massive Price Drop in our chicken now is a good time to learn to Can Chicken!
Unlock the secret to long-lasting flavor and convenience with home-canned chicken. In this comprehensive guide, we'll walk you through each step of the canning process, ensuring that your chicken retains its taste, tenderness, and nutritional value for months to come. Say goodbye to store-bought canned chicken and hello to the satisfaction of self-preservation. Let's dive right in!
-
Selecting and Preparing Quality Chicken: Before embarking on your canning adventure, it's crucial to start with high-quality chicken. Opt for fresh, locally sourced poultry free from blemishes or excessive fat. Thoroughly wash and sanitize your workspace and utensils to maintain a sterile environment.
-
Gather Essential Equipment: Equip yourself with the necessary tools to ensure a successful canning experience. You'll need mason jars with lids and bands, a pressure canner, a jar lifter, a canning funnel, a bubble remover, a kitchen timer, and clean towels for drying and handling hot jars.
-
Preparing the Chicken: Trim excess fat from the chicken and cut it into desired pieces, such as boneless chunks or whole legs. Remember to remove skin and bones to ensure even heating during the canning process. Rinse the chicken pieces under cold water to remove any residual debris.
-
Seasoning and Cooking: Add flavor to your chicken by seasoning it according to your taste preferences. Common choices include salt, pepper, garlic powder, or your favorite herbs and spices. Cook the chicken thoroughly by baking, boiling, or sautéing until it reaches a safe internal temperature.
-
Preparing the Jars: Sterilize your mason jars, lids, and bands by boiling them in water or running them through a dishwasher cycle. Keep the jars warm until ready for filling to prevent thermal shock. Place the lids in a separate pot of hot, but not boiling, water to soften the sealing compound.
-
Filling the Jars: Using a canning funnel, carefully fill the warm jars with cooked chicken pieces, leaving adequate headspace as recommended in your canning guide. Avoid packing the chicken too tightly, allowing for heat penetration during processing. Use a bubble remover to release any trapped air bubbles.
-
Sealing the Jars: Wipe the jar rims with a clean, damp cloth to remove any food residue. Retrieve the softened lids from the hot water, ensuring not to touch the sealing compound. Secure the lids on the jars, tightening the bands just until resistance is met—no need to overtighten.
-
Processing in a Pressure Canner: Following your pressure canner's manufacturer instructions, place the filled and sealed jars in the canner. Ensure there is sufficient water according to your canner's requirements. Lock the lid, venting as per instructions, and bring the canner to the recommended pressure level. Maintain the pressure and process the jars for the specified duration.
-
Cooling and Storage: Once the processing time is complete, turn off the heat and allow the canner to cool naturally. Avoid rapid cooling methods to prevent jars from breaking. Once the pressure has fully released, carefully remove the jars using a jar lifter and place them on a towel-lined surface. Let them cool undisturbed for 12 to 24 hours. Check the lids for proper sealing by pressing the center. Store any unsealed jars in the refrigerator for immediate consumption.
Congratulations! You've successfully canned your own flavorful chicken. The preservation process not only extends the shelf life of your poultry but also gives you the freedom to create quick and delicious meals whenever you desire. Remember to label your jars with the canning date for easy tracking and consume within the recommended timeframe. Enjoy the convenience, taste, and pride that come with home-canned chicken!


